


RAID (Redundant Array of Independent Disks) is a technology that combines multiple hard disks into a single logical drive to achieve data redundancy and/or increased performance. There are different RAID levels that offer different combinations of data distribution and fault tolerance.
Available RAID types
Our dedicated servers currently offer up to 8 SSD/HDD bays, meaning that there are a plenty of possible configurations for RAID, like: RAID0, RAID1, RAID10, RAID5, RAID6, RAID50, RAID60.
Our servers come with preconfigured RAID1 when first installing the system when ordering. If you wish to change this setup, you may order the server with "None (Do not install)" OS option and access your server personally to edit the RAID mode.
RAID0
In this RAID configuration, all existing volumes are combined into one large volume, for example, from 2 SSDs, each with 1 TB. A 2TB partition would be created which could then be used completely.
There is no data redundancy, so in case of a technical malfunction, data loss is often inevitable because the data is written in different sectors.
If you store sensitive data on your system, RAID0 should not be used or at least regular system backups should be performed.
RAID1
This configuration is very different from RAID0, here there is a redundancy of your data, which means that everything you store on your server is duplicated. It is therefore mirrored on both SSDs and would be available at a failure rate of 50%, so your data is safe with 1 SSD.
In case of a technical malfunction, only the affected SSD would have to be replaced and your server would rebuild the RAID, which means to mirror the data again. Especially for more sensitive data this configuration is highly recommended, but it is not an alternative to avoid backups.
ECO and ADV series
The Configuration Assistant
When your server is booting, the RAID configuration tool is required to be started. This can be done by pressing F8 at the necessary boot step.

Press F8 at this point to open the RAID configuration tool

After a few seconds, this configuration overview will show up.
There are now several menu options:
-
Create Logical Drive Is creating a new volume.
-
View Logical Drive This shows the current RAID configuration.
RAID0

RAID1

-
Delete Logical Drive You can delete the current RAID configuration, to create a new one for example.
-
Select Boot Volume You could boot from another storage medium, which is not necessary in our case here.
-
Manage License Keys Nothing needs to be adjusted or changed here, the licensing is already pre-configured.
-
Cache Settings The cache option can be adjusted to increase the read/write rates of the SSD a bit. Basically, the last data blocks are cached during every write process for safety reasons for example in case of a voltage loss. This causes a minimal performance disadvantage.
Creating a new RAID
First of all we check that there is no volume anymore, open Delete Logical Drive

We press F8 to delete the existing RAID.

By pressing F3 we confirm the deletion.
After the RAID was successfully deleted we need to open Create Logical Drive

Here you can see all your SSDs and have a choice of RAID configurations. Of course, not all of these RAIDs can be implemented in the current constellation.
In our example, we choose RAID0 or RAID1.
You can switch between the menus by pressing TAB
When you're done choosing your RAID configuration, you can confirm them by pressing Enter.
You can close the configuration assistant by pressing ESC
Select Boot Volume
If you have touched your RAID, it is necessary to select boot volume. This can easily be done in Select Boot Volume, choose there the logical drive which you have created, otherwise your server will stuck in a bootloop.
Select Boot Volume

Direct Attached Storage

Logical Drive 01

Press F8 to save as bootvolume

In the end you have the possibility by pressing F8 to directly reboot your system or to return into the main menu by pressing Enter. Mention that the boot volume must be set anytime when you have touched your RAID configuration.
PRO and XT series
When the server is booting, press F2 on the boot screen to access BIOS settings.

After a while you will get to BIOS screen. where you can navigate via Arrows and TAB.
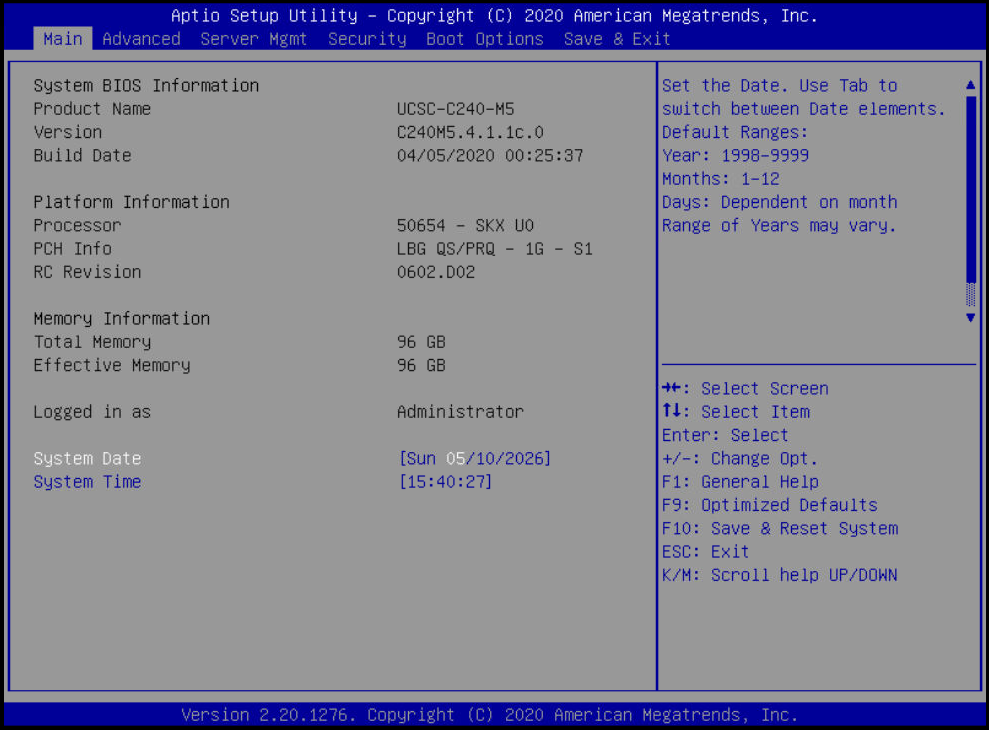
To configure our RAID setup, we have to access Advanced tab by pressing Right arrow once.

Using Arrow down get to AVAGO <Cisco 12G Modular Raid Controller> menu and press Enter

Using Arrow down get to Configure menu and press Enter
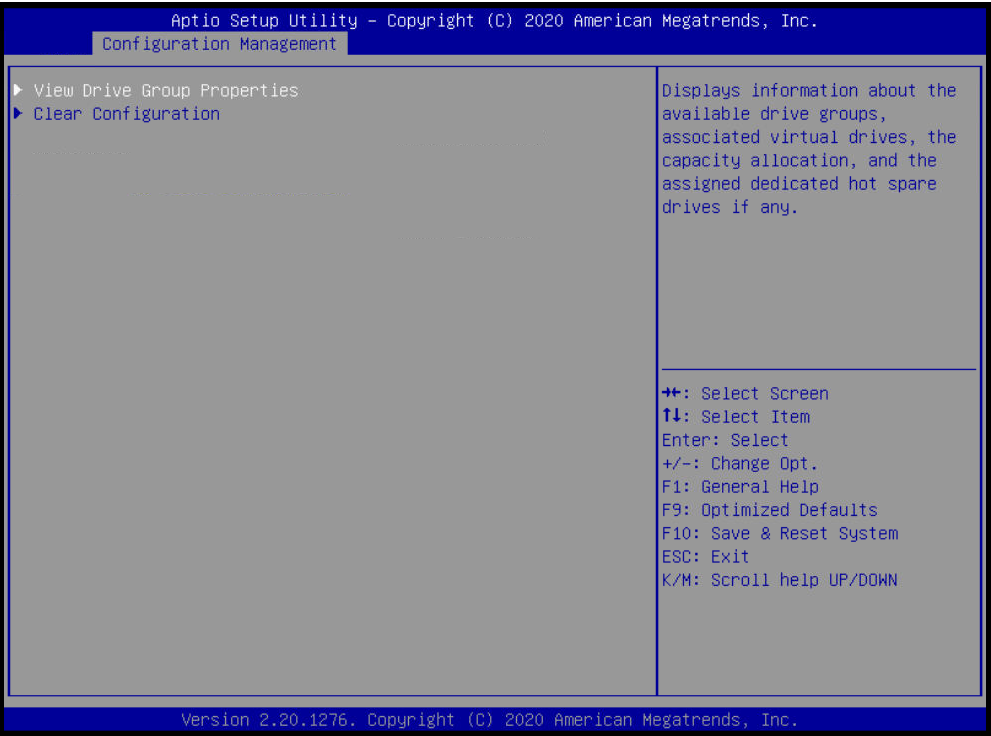
Here you have two options - to view current RAID setup or to clean configuration and create a new one.
Viewing current configuration

If you want to change this default RAID setup, you have to Clear configuration. To get back to previous menu press ESC.
Clear configuration

To clear configuration, you have to press Enter on Confirm menu. Choose there Enabled and press Enter again. After that navigate to Yes and press Enter.

After that, use ESC several times to navigate to main Advanced menu, where we have to access Configure menu once again.

Here we have different options, we will cover only one here. Navigate to Create virtual drive and press Enter.
Here you do all customizations you need, also you need to Select drives.

Here you choose the drives you need by turning them from Disabled to Enabled. When you're done, navigate to Apply changes and press Enter 
Check your configuration once again, and after check use Save configuration. You'll be asked to confirm changes like we already did earlier

If everything went well, you'll see this notice

Press ESC several times to get to main menu, there navigate to Save & exit. On the new menu get to Save Changes and Reset option and press Enter, to confirm reset navigate to Yes and press Enter once more.

Server will reboot now with your new changes in use.